The Apparel Sampling Process Explained: Proto, Fit, and Golden Sample


The Apparel Sampling Process Explained: Proto, Fit, and Golden Sample
3 MINUTES
May 13, 2026
So, you have done the hard work. You have a clear vision for your product, a detailed tech pack, and a manufacturing partner who is ready to bring it to life. Now comes the most critical, nerve-wracking, and misunderstood phase of apparel production: sampling. This is the moment your digital designs and abstract ideas become a physical object you can hold in your hands. It is the bridge between your vision and your customer, and it is the single most important insurance policy for your brand.
Most brand owners treat sampling as a hurdle to be cleared as quickly as possible, a necessary evil on the path to the much more exciting world of bulk production. This is a catastrophic mistake. Rushing the sampling process is the number one cause of production disasters, budget overruns, and unsellable inventory. A disciplined, patient, and rigorous sampling process is not a cost center; it is the single best investment you can make in the quality and consistency of your final product. The brands that win are the ones that respect the sample, and this is the guide to doing it the right way.
The Sampling Trap: Why Most Brands Get It Wrong
Before we get into the playbook, we need to address the trap that snares so many ambitious brand owners. The sampling process is where the factory demonstrates its ability to execute your vision, and where you have the opportunity to refine that vision before committing tens of thousands of dollars to a production run. The trap is thinking you can shortcut this conversation to save a few weeks or a few hundred dollars.
This pressure comes from a few places. You have a launch date you are trying to hit. You are excited to get the product in hand. You see the cost of each sample round adding up and feel the need to move faster. So you approve a sample that is "good enough." You tell yourself that the small fit issue can be fixed in production, or that the color is close enough. You sign the approval form for the Pre-Production Sample and give the factory the green light.
Ninety days later, a container arrives with 500 hoodies, and every single one of them has the same small fit issue you noticed in the sample. The color that was "close enough" now looks completely wrong under different lighting. You have no recourse. The factory produced exactly what you approved. You fell into the trap. Now you are sitting on a mountain of inventory that you cannot sell at full price, all because you tried to save a little time and money in the one phase designed to prevent this exact scenario.
Sampling is not a formality. It is a dialogue between you and your factory, a series of iterative refinements that dials in every detail of your product. It is your opportunity to be a ruthless editor of your own work. Embracing the process, not fighting it, is the first and most important step toward building a world-class product.
The Three-Stage Sampling Process: A Professional Framework
Professional apparel production does not rely on a single sample. It uses a multi-stage process where each sample has a specific purpose. Understanding this framework is the key to managing the process effectively. The three core stages are the Proto Sample, the Fit Sample, and the Pre-Production (or Golden) Sample.
Stage 1: The Proto Sample (The Blueprint Test)
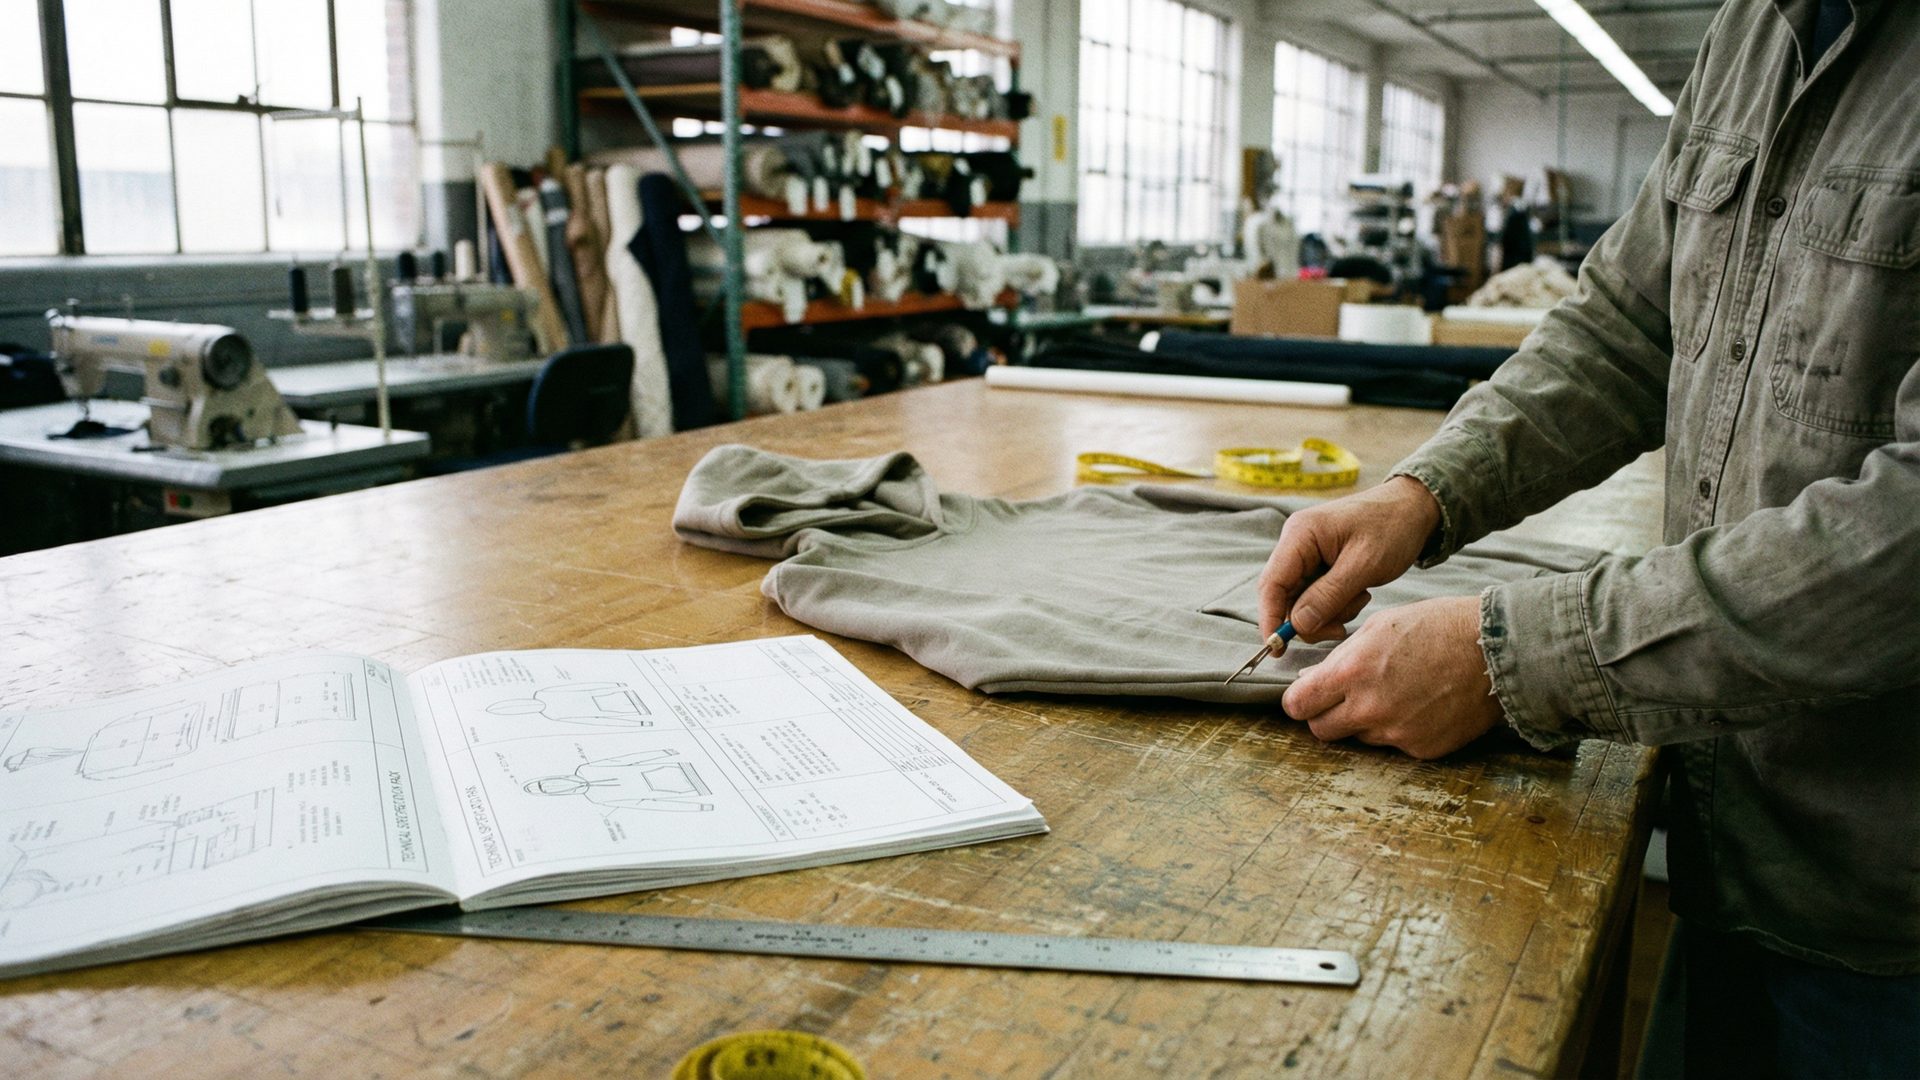
The first sample you receive from your factory is the proto sample. Its primary purpose is to test one thing: the factory's ability to interpret your tech pack. It is a direct reflection of how well you communicated your instructions. For this reason, the proto is often made in a random, in-stock fabric and color. The goal here is not to evaluate the final look and feel, but to assess the core construction, seam work, and basic pattern shape.
What to Look For in a Proto Sample:
• Construction Quality: Are the seams straight? Is the stitching consistent? Did the factory use the stitch types you specified in your tech pack (e.g., flatlock, overlock, coverstitch)?
• Tech Pack Interpretation: Did they follow your instructions for pocket placement, hood construction, and hardware attachment? If you specified bar tacks for reinforcement at pocket corners, are they there?
• Initial Fit and Shape: While this is not the final fit, you can get a general sense of the silhouette. Does it resemble the shape you designed? Are there any major, glaring pattern errors?
How to Give Feedback on a Proto Sample:
Your feedback at this stage must be precise, documented, and visual. Vague notes like "the hood feels small" are not helpful. Instead, provide a consolidated document with clear, actionable corrections. This should include:
Annotated Photos: Take clear photos of the garment, both on a flat surface and on a mannequin or person. Use arrows and text overlays to point out specific issues (e.g., "Pocket placement is 1 inch too low," "Stitching is uneven on this seam").
Measurement Corrections: Measure every key point of measure (POM) on the garment and compare it to your tech pack's spec sheet. Note any discrepancies that are outside of your acceptable tolerance (typically +/- 0.5 inches).
Written Comments: Create a clear, numbered list of all required changes. Reference your photos and measurements. For example: "1. As noted in photo A, the side seam stitching is puckering. Please adjust tension. 2. The chest measurement is 1 inch smaller than spec. Please correct pattern."
It is normal for a proto sample to be far from perfect. Do not be discouraged. The goal is not perfection; the goal is to establish a clear line of communication with your factory and to identify any major gaps in understanding before you move to the more expensive stages of sampling.
Stage 2: The Fit Sample (Nailing the Silhouette)
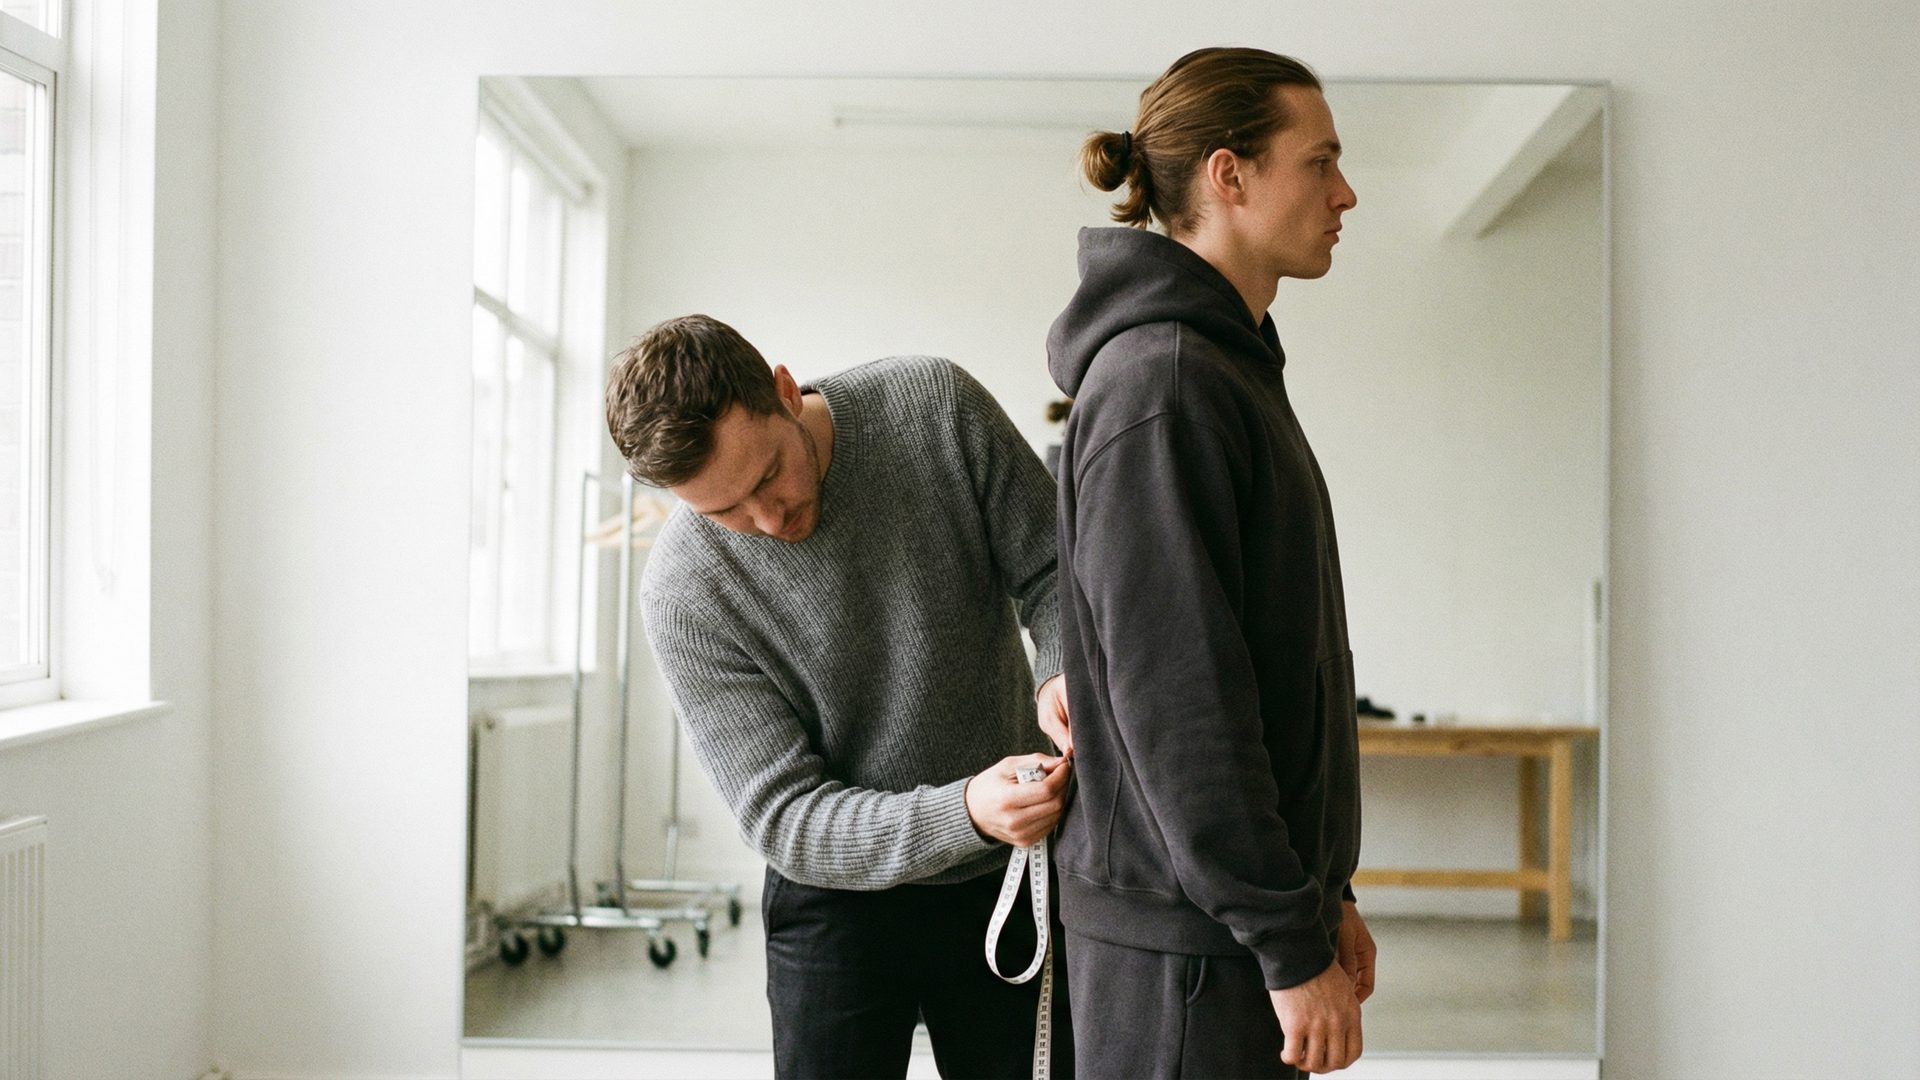
Once the proto feedback has been implemented, the factory will produce a fit sample. This sample is made in your actual chosen fabric, or a fabric with a very similar weight and drape. The primary, and only, purpose of the fit sample is to finalize the fit of the garment. This is where you dial in the measurements and proportions to create your brand's signature silhouette.
The Importance of a Fit Model:
To properly evaluate fit, you need a consistent body to test on. This is your fit model. For many brand founders, they themselves are the initial fit model. If your brand is built around a specific body type or customer, it is crucial to find a model who represents that target. The fit model's measurements should be documented and used as the standard against which all samples are judged. Trying a sample on yourself, then your friend, then your cousin will give you inconsistent feedback. Stick to one fit model.
How to Conduct a Fitting:
During a fitting, the garment should be evaluated for balance, drape, and comfort in motion. Have the fit model move around, raise their arms, and sit down. Look for any pulling, twisting, or restriction. Key areas to focus on include:
• Shoulders and Chest: Is the shoulder seam sitting correctly on the shoulder point? Is there enough room across the chest without being baggy?
• Sleeve Length and Width: Are the sleeves the correct length? Is the bicep and cuff opening comfortable?
• Body Length and Hem Opening: Is the overall length correct? Does the hem sit properly at the waist or hips?
Feedback on a fit sample is all about measurements. Your comments to the factory should be specific and quantitative. For example: "The body length is perfect, but we need to reduce the chest width by 0.75 inches and increase the sleeve length by 1 inch." It is not uncommon to go through two or even three rounds of fit samples to get the silhouette exactly right. Every correction you make here is a problem you are avoiding in bulk production.
Stage 3: The Pre-Production Sample (The Golden Standard)
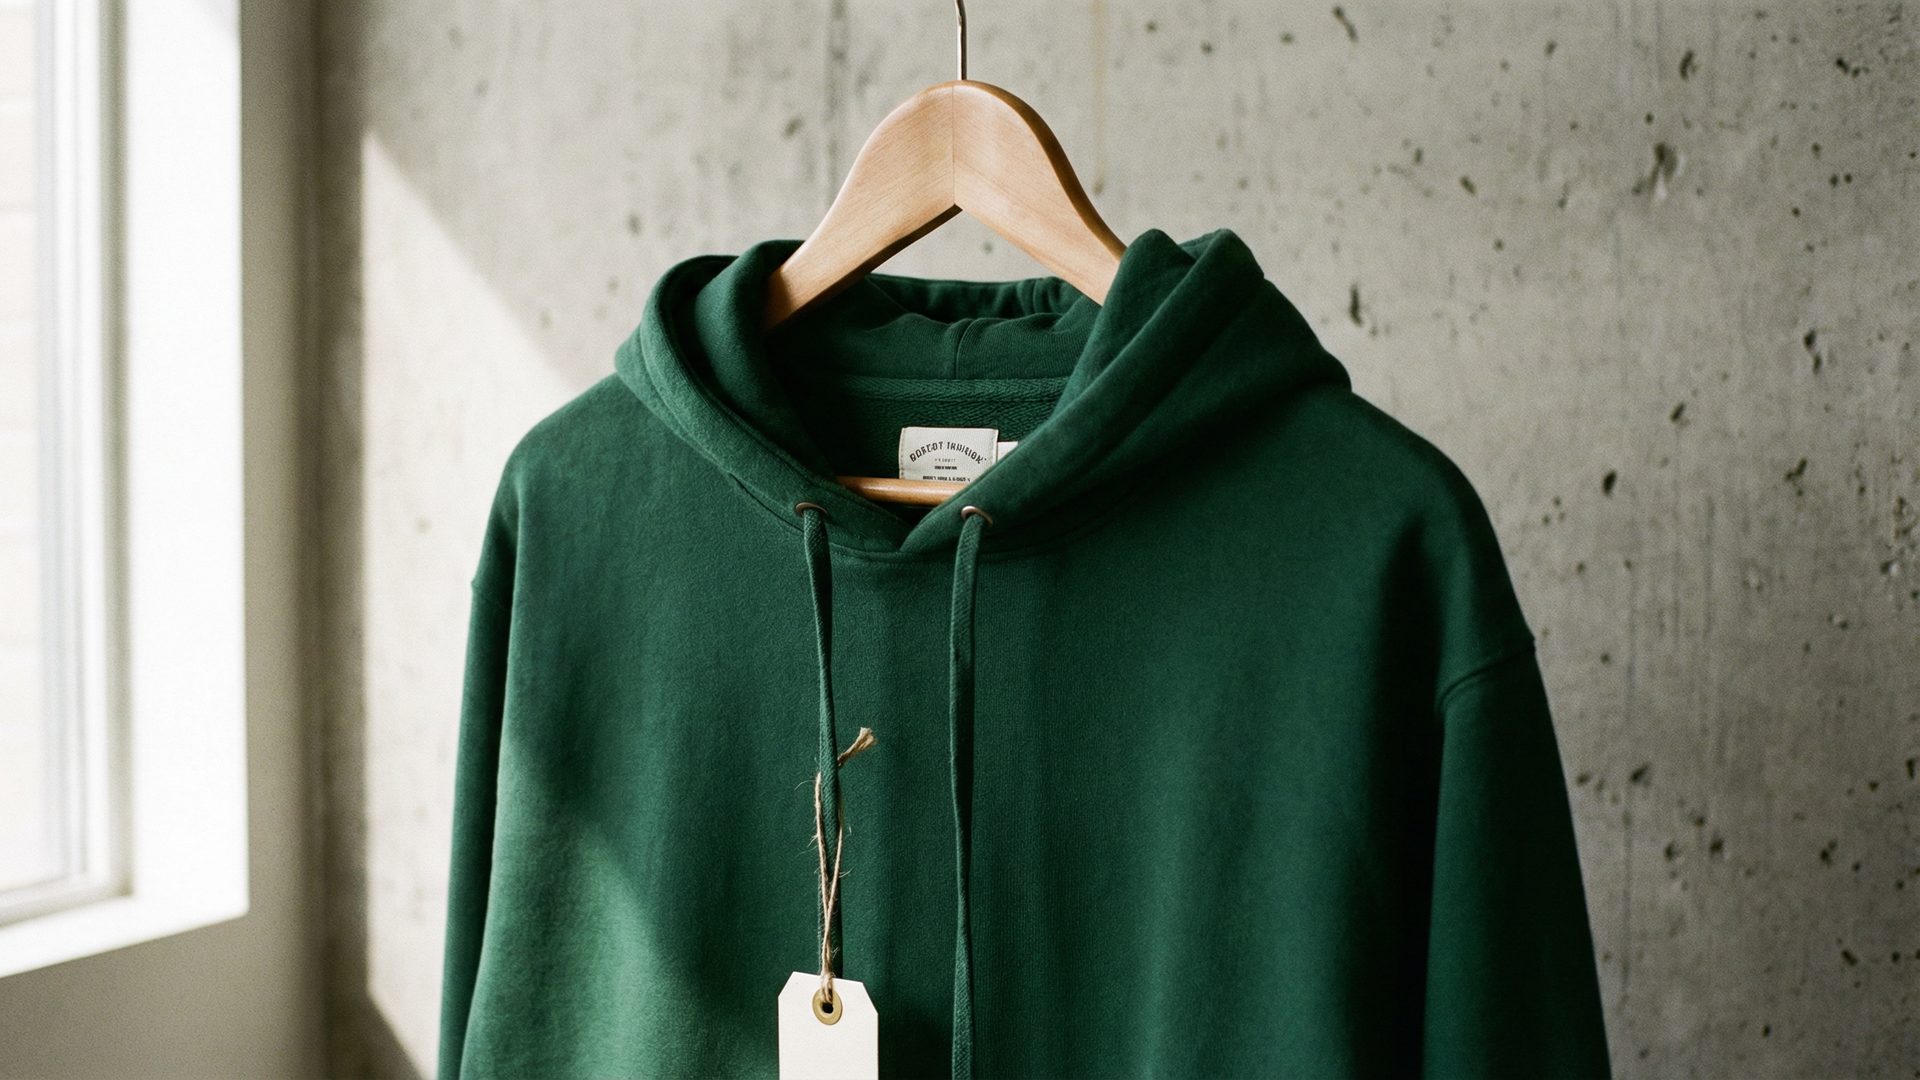
After all fit adjustments have been made and approved, you will order the final and most important sample: the Pre-Production Sample (PPS), often called the "Golden Sample." This sample is the final, definitive version of your product before you commit to bulk production. It must be 100% correct in every single detail.
The Golden Sample Checklist:
The PPS must be made with the exact fabric, in the exact color, with the correct trims (zippers, buttons, drawcords), and with all final branding elements (labels, embroideries, prints). When you receive the PPS, you must inspect it with extreme prejudice. This is your last chance to catch any errors. Your inspection should include:
• Final Fit Verification: One last check on your fit model to ensure all adjustments were made correctly.
• Color Approval: Check the color against your Pantone standard under multiple light sources (natural daylight, indoor light).
• Trim and Hardware Check: Are the zippers, buttons, and drawcords the correct style and quality?
• Labeling and Branding: Are the woven labels, care labels, and any embroideries or prints placed correctly and executed perfectly?
• Hand-Feel and Finish: Does the fabric feel as it should? If you specified a vintage wash or a garment dye, is the finish correct?
Approving the Golden Sample:
Once you are 100% satisfied with the PPS, you will formally approve it for production. This often involves signing a physical tag on the sample and sending a written confirmation to the factory. This approved Golden Sample becomes the standard against which every piece in your bulk production run will be measured during quality control. If a dispute arises about quality during production, the Golden Sample is the contract and the final arbiter.
Do not approve a PPS with any outstanding issues, no matter how small. A promise from the factory to "fix it in bulk" is not a guarantee. If the PPS is not perfect, provide feedback and request a revised PPS. The extra two weeks it takes to get a perfect sample is infinitely cheaper than the cost of a flawed production run.
Your Role in the Process: How to Be a Good Partner
While the factory is responsible for producing the samples, you, the brand owner, play a critical role in ensuring the process is smooth and efficient. Your ability to provide clear, consolidated, and timely feedback is just as important as the factory's ability to sew.
• Start with a Great Tech Pack: The single biggest cause of sampling delays is a vague or incomplete tech pack. Investing in a professional, highly detailed tech pack before you even approach a factory is the best way to set the process up for success.
• Consolidate Your Feedback: Do not send multiple emails with scattered notes. After reviewing a sample, compile all of your feedback into a single, organized document. A shared Google Doc or a PDF with annotated photos is a great way to do this.
• Be Decisive and Specific: Ambiguous feedback leads to ambiguous results. Instead of saying "make the fit better," say "reduce the chest measurement by 1 inch." Provide clear, quantitative, and actionable instructions.
• Respect the Timeline: Understand that each round of sampling takes time. A typical sample round, including shipping, can take 2-4 weeks. Build this into your overall production calendar and avoid the temptation to rush your factory.
Working with a full-package production partner like HH can dramatically de-risk this process. A good partner acts as your outsourced production team, managing the communication with the factory, translating your creative vision into technical specifications, and providing on-the-ground quality control at every stage of the sampling process. They provide the expertise and the infrastructure to ensure that your Golden Sample is truly golden.
Conclusion: The Sample Is the Foundation
The apparel sampling process is the most important conversation you will have with your manufacturer. It is a meticulous, iterative dialogue that transforms your idea into a scalable, high-quality product. By understanding and respecting the distinct purpose of the proto, fit, and golden samples, you move from being a hopeful designer to a professional brand operator.
Treating this process with the seriousness it deserves is the foundation of every successful product-first brand. It is your best and only insurance against the costly disasters of a flawed production run. The patience and rigor you invest in sampling will pay you back a hundred times over in the form of a product that you are proud to put your name on, and that your customers will be proud to own.
Frequently Asked Questions
How much does an apparel sample cost?
Sample costs vary widely, but a general rule of thumb is 2-3 times the estimated bulk production price per unit. So, if your hoodie is projected to cost $25 in bulk, expect to pay $50-$75 for each sample. This premium covers the cost of the factory's time for pattern making, cutting single units, and machine setup for a one-off piece.
How long does the entire sampling process take?
A realistic timeline for the full sampling process, from first proto to approved golden sample, is between 6 and 12 weeks. This can be faster for simple products or slower for complex outerwear. This timeline assumes 2-3 rounds of samples to get the fit and details perfect.
What is the difference between a proto sample and a fit sample?
The proto sample's main job is to test the factory's ability to understand your tech pack, focusing on construction and basic shape, and it is often made in random fabric. The fit sample's only job is to finalize the measurements and silhouette, and it must be made in your actual production fabric.
What happens if I do not like my first proto sample?
This is completely normal. The first proto is rarely perfect. The key is to provide clear, consolidated, and visual feedback on exactly what needs to change. A good factory will be able to take your feedback and produce a much-improved second sample.
Do I really need a tech pack before I start sampling?
Yes, absolutely. A professional tech pack is the non-negotiable blueprint for your product. Attempting to start the sampling process without one is the leading cause of failed projects, wasted money, and disputes with factories. It is the most important document in the entire production process.
Can I combine the proto and fit sample into one round to save time?
Yes, and many experienced brand operators do exactly this. If your tech pack is highly detailed and you have a strong, established relationship with your factory, you can request a combined proto/fit sample made in your actual production fabric from the start. This can shave 2-4 weeks off your overall timeline. The trade-off is risk: if the factory misinterprets your tech pack, you have wasted the cost of production fabric on a sample that needs major structural corrections. It is a judgment call best made by operators who know their factory's capabilities well. For first-time styles or new factory relationships, running the stages separately is the safer approach.
How many rounds of samples is normal?
For a new style, it is standard to go through 2-4 rounds of samples to get everything perfect. This typically includes one proto sample, one or two fit samples, and one final pre-production sample. If you are still making major changes after four rounds, it may be a sign of an issue with your tech pack or your factory partner.